As one of the most important consoles in history, the SNES is the topic of today’s article. Although massively successful, the SNES classic doesn’t allow the adding and removal of games – unless you use a sneaky modifier, that is.
In order to successfully delete (or add) games to your SNES classic, you need to “hack” it with the Hakchi application via your Windows PC. After you install and run the app, you’ll be able to modify your games list with a simple ‘Click-and-Delete’ operation on your PC.
In today’s article, I am going to give you a detailed, step-by-step guide on how to delete games from your SNES. You’re going to find out the prerequisites for the whole process and how to do it, step-by-step. After that, I am also going to teach you how to restore your SNES to its factory settings. Enjoy!
In case you didn’t know…
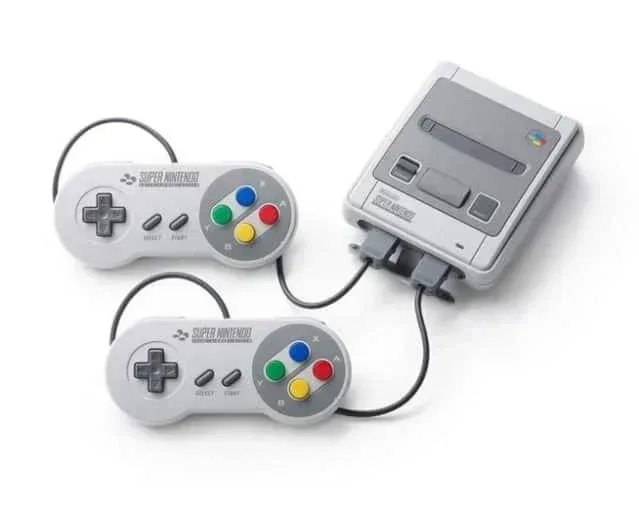
The Super Nintendo Entertainment System (usually abbreviated as Super Nintendo, Super NES, Super-NES or SNES) is a stationary 16-bit game console from the Japanese company Nintendo. It is the company’s second stationary game console to be released worldwide, and its controller, the SNES controller, introduced the shoulder buttons, which henceforth became the standard for all subsequent gamepads. The Super Nintendo Entertainment System was first released on November 21, 1990 in Japan. The Super Nintendo Entertainment System is the predecessor of the Nintendo 64 (N64) and the successor to the Nintendo Entertainment System (NES).
How do you delete games on SNES? Step-by-step
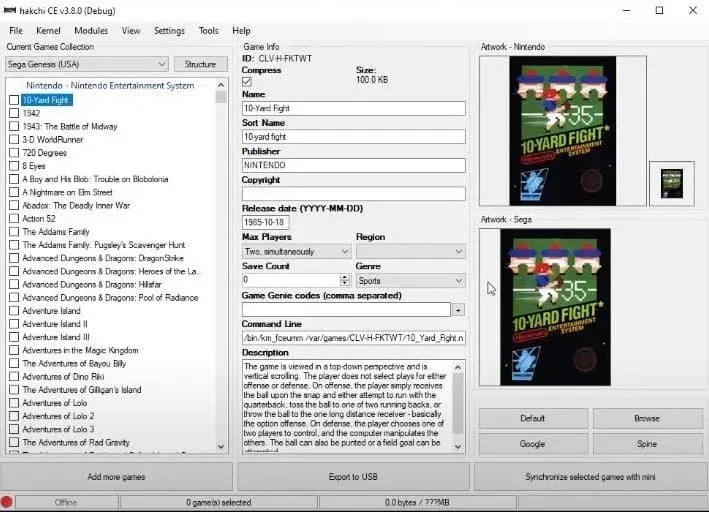
In order to modify your games list on the SNES, you’ll need the following: a working SNES device, a Windows PC, a cable to connect the two, and the Hakchi application tool, which will enable you to modify your SNES, i.e., to edit your game list on your device. Once you’ve installed the application and connected your device, you’re going to see the list of games your SNES has and you can then commence the procedure.
You can download the Hakchi from hakchi.net or from the GitHub software repository.
In the application, find and click the Current Games Collection option. From here, you need to select the Super NES option and then your current region. As soon as you do that, the next page will show you the list of games that can be installed on the SNES classic.
Then go to the main menu of the tool and from there select Kernal. A drop-down menu will open, from which you need to select the Uninstall option, which is the third option from the menu. A new pop-up message will appear on your screen, that will ask for your permission to proceed further with the installation process. Upon asked, click the ‘Yes’ button.
Now, go to your SNES Classic device and hold the RESET button. While holding down the RESET button, press the Power button to turn it on. Keep on holding the RESET button for a few seconds and then release it.
During this period, the Power LED light should not be turned on. If it shows turned on, you need to start the process from the beginning.
The process should then continue automatically, but in case it asks for your permissions, kindly click the ‘Ok’ or ‘Yes’ button, depending on your system. Make sure you do not remove the USB cable or turn off the power switch during the whole process. Namely, if the process is interrupted for any reason, you need to restart it again by following the same steps.
Once the uninstallation process is done successfully, you will see a pop-up message that says “Done!”, and with that, your operation is actually done. It’s quite simple, as the Hackchi tool gives you a very simple user interface and guides you through the whole process. You don’t need to be a genius to do this; the instructions are quite simple and straightforward.
Although you are technically modifying your SNES, the software ensures that you are not going to ruin your device in any way. In short, once you open the Hakchi tool, you just go to the games list and just delete or uncheck the game (you’ll notice that they are checked by default) you don’t want on your system.
The tool also allows you to do other things with your games. For example, in order to edit the box art, you just highlight the games and right-click on them. Then select the download box art option and the tool will do the rest for you. But, do make sure you synchronize your device when you’re done with the whole procedure.
In order for the whole procedure to work flawlessly, you need to keep your device connected and follow all the steps carefully. The same procedure, but with the appropriate instructions, can be used to install different games and to modify your list in some other way. Hakchi is truly useful if you want to modify your SNES and I strongly advise you to grab a copy of it if you want to fully realize the SNES’s abilities.
How to restore your SNES to its factory settings?
Now that we have mastered the use of the Hakchi tool, the process of restoring your SNES device to its factory settings is quite easy. The first thing you need to do is, of course, connect your device to your PC. After the connection has been established, you can open the Hakchi tool and follow this guide.
Go to the main menu and click the Kernel option. From the drop-down menu, choose the Advanced option. The last option from the new drop-down menu will be the Factory Reset. Naturally, select that option.
You will see a warning message in the form of a pop-up window, asking for your permission for the reset. Click the ‘Yes’ button to start the Factory Reset procedure. The process will begin when you click the ‘Yes’ button in the application. Once this is done, you will see a new pop-up message on your screen. Click the ‘Ok’ button to finish the process and you’ve done it – your SNES is back to its factory settings.